There are many ways you can carve a gnome. There are some things you should know before carving. This project is not only rewarding but also fun. It involves multiple layers and can be a great way of learning how to carve the gnome. You can also add creativity to your gnome-carving. Listed below are three tips for carving a gnome in wood.
A gnome can be freehand carved
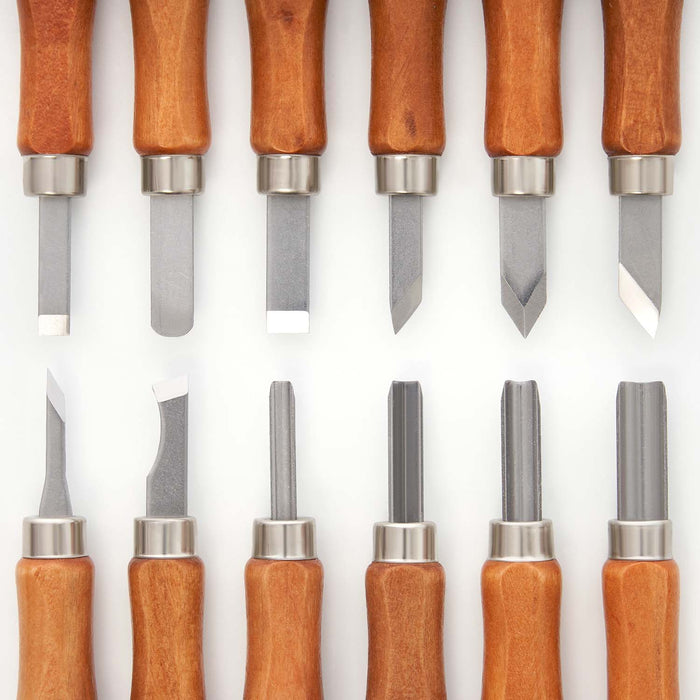
These are some helpful tips for carving a freehand gnome to use as a Christmas ornament. You can easily carve a simple gnome using a knife. But, if you need to add detail to the hat or beard, a micro-V-tool is essential. A gnome, while a simple project to carve, can be accomplished in your spare moments.
The gnome is a great way to test your skill in freehand carving. These gnomes were popular garden ornaments and are still very much in demand. A gnome is a great way of assessing your skills and identifying areas for improvement. You can also use it as a measuring stick to determine design, depth, detail, or design. Once you have mastered the gnome drawing you can begin to sculpt his features.
Whistle carving is a must-try woodcarving project
The whistle is a favorite project for woodcarvers. A simple, yet functional object, a whistle will be fun to carve and is an excellent way to introduce your friends and family to the process. However, there are several important steps to follow if you want your whistle to be a functional piece. In this tutorial, we will cover the steps involved in carving a whistle, from preparation to the final product.
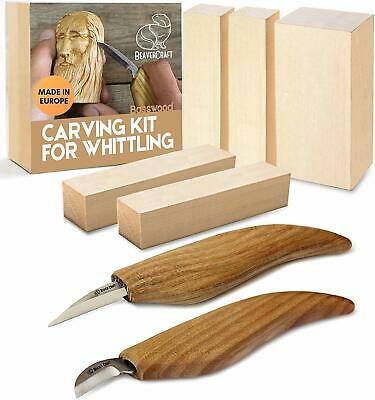
To begin the project, you will need a straight-edged blade and non-toxic oil. It may seem intimidating, but carving a Gnome is an easy project that will increase your woodcarving skill and provide you with a creative outlet. You can also practice many woodcarving techniques with this project.
Creative gnome carvings: Add creativity
You can easily add creativity to your gnome carvings by adding a colorful cap. You might find a wood-carved gnome to be whimsical or a charming decoration. Or, you might love a friendly troll. Gnomes are an excellent way to add personality to your garden, and this can be done with various materials, such as wood, stone, and stone.
Make a gnome of wood
When carving a gnome out of wood, the first thing you need to do is determine the size of your wood block. Then, draw the anatomy of the gnome, including its face, body and feet. You will need to make a V-cut around the facial features to create smooth corners. Use a knife or chisel to make V-cuts at the correct places. You will then need to cut a piece approximately 1.5mm thick with a microV-tool. This will create a nice curve for your hat rim or beard.
It is easy to carve a gnome. This is because there is so much potential to produce high-quality work. Each week you can expect to see improvements in every stage of carving a Gnome. This may not be possible with every project. However, weekly carving progress will enable you to see significant improvements in design shape and facial features.
A world of gnomes can be made more gnome-friendly by adding a gnome
The Gnomes of the Underdark and other RPGs usually have one recurring character: David. This character is not insane. He has traits like Speak Fluent Animal, Can't Argue with Elves, and Telepathy. He can also be seen putting up road signs in an attempt to scare people. David and Lisa could even have a rivalry.
Gnomes have a powerful ability to cast spells and are very proficient at manipulating arcana. They are also the only available race in the game. Other gnomes such as undead and leper Gnomes share the same skeleton animation. Kirin Tor has always been home to gnomes. Their founding member Meryl Felstorm had a gnome as an associate of his.
FAQ
How long does it take to finish a piece of furniture?
It depends on the size of the piece of furniture. For smaller projects such as picture frames and boxes, it can take less than a day to complete. Larger projects, like desks or dining tables require several days. It takes time to stain and seal the wood properly.
How do you calculate woodworking costs?
It is essential to calculate costs as accurately as possible when pricing any project. Always make sure you get the best price on materials. Also, consider all other factors that can affect the price of your projects such as skill level, experience, time and cost. Check out our guide on the average cost of common DIY projects to get an idea of how much you can spend on woodwork projects.
Is it easy to start a woodworking business?
It is difficult to start your own woodworking company. There are lots of legal requirements and regulations that you'll need to follow. This doesn't necessarily mean that you should go through all the work of setting up a company. Many people prefer to join existing companies. This way, you only need to pay membership fees and taxes.
Can I refinish furniture that I make?
Yes! You don't have to hire a professional to refinish furniture. There are many ways you can do it yourself. Here are a few suggestions:
Use sandpaper on the surface to remove any stains or scratches. Then wipe down the surface with a clean cloth.
Apply clear polyurethane varnish. Let dry completely before moving furniture around.
Paint furniture with acrylic paint.
Stain can be used instead of paint. You can give your furniture a rich appearance with stain.
Shellac wax can be applied. Applying wax will give the wood shine and protection.
Statistics
- Woodworkers on the lower end of that spectrum, the bottom 10% to be exact, make roughly $24,000 a year, while the top 10% makes $108,000. (zippia.com)
- The U.S. Bureau of Labor Statistics (BLS) estimates that the number of jobs for woodworkers will decline by 4% between 2019 and 2029. (indeed.com)
- Average lumber prices rose about 600 percent between April 2020 and May 2021. (familyhandyman.com)
- In 2014, there were just over 237,000 jobs for all woodworkers, with other wood product manufacturing employing 23 percent; wood kitchen cabinets and countertop manufacturing employing 21 percent. (theartcareerproject.com)
External Links
How To
How to properly use a handsaw
To cut wood into pieces, a handsaw is used. These saws are most commonly used to cut wood into pieces. A handsaw can be made of metal or other plastic. It cuts through material such as wood and plastics.
The main advantage of using a hand saw is its ability to make precise cuts at any angle without adjusting the blade. Sharpening them is easy, unlike with power tools. However, there are some disadvantages as well. For example, they are heavy and bulky, so you must be careful when transporting them. It is possible to injure or damage your own body if the instructions are not clear.
There are many ways that you can use a handsaw. While cutting, it is important to keep your hands clear of the blades. If you don't, you might get hurt. Holding the saw in your hands, place your thumbs on the handle and your thumb at the blade's top. This will ensure that you don't accidentally touch or scratch the blade.
When using a hand saw, you should never put anything under the piece of wood you're cutting. Doing this would cause the blade to slip off the wood's surface. Always check the area where you want to cut before starting. Make sure no nails or screws are hidden beneath the wood.
Always wear safety glasses when you use a handsaw. These glasses prevent dust from entering your eyes and make it easier for you to see what's happening. Safety glasses protect your head from flying debris.
To work safely with a handheld saw, you need to first be able to operate it. Next, practice until your confidence is high enough to begin cutting. Once you've mastered the basics, you'll find that you can easily cut almost anything!