
You can use many tricks and tips to make your tablesaw work efficiently. Push sticks are a good way to keep the fence straight and ensure the blade is the correct depth. Some tips are based in experience and will help improve your cutting results. These and other tips are available in the following article. Remember to practice! Once you read this article, your skills will improve. Regardless of what kind of material you're cutting, you'll be amazed at how many of them you've never thought of using!
Push sticks
Push sticks are a great option to improve safety when using a tablesaw. You can get store-bought ones that are made of hard plastic that can break and fragment when the blade strikes it. Instead, purchase one that is made of ABS plastic or fiber-filled nylon. Avoid aluminum push stick as they can throw flak right at you when it hits the blade. Make sure it is at least 1/4 inches thick.
Blade depth
Use a tablesaw to measure the depth of the blade in millimeters. This measurement is not obligatory. The CPSC staff reviewed these data and concluded that this voluntary standard did not affect table saw safety. These are the most important considerations when selecting a table saw. The blade should never be more than 4mm below skin surface. The blade's depth should not be exceeded. Also, consider the dimensions of the saw, including its length and width.
Fence alignment
It is vital to inspect the alignment of your table saw's fence regularly. It is essential that the fence is within 15% to 20% of the blade's thickness. Therefore, it is crucial to regularly align your tablesaw's fence. Aligning your table saw's fence properly is essential for obtaining great cuts. For this purpose, you will need a scrap of wood, feeler gages, or a solid measure tool. To measure the fence, simply bring it to within a few inches from the blade. To make sure it's aligned correctly, place a feeler gauge along the blade's teeth and measure its distance.
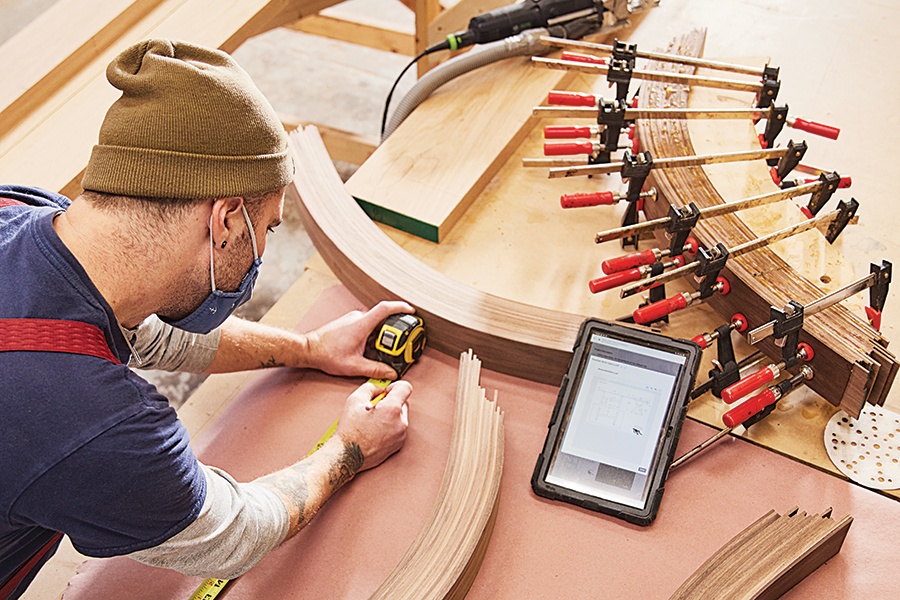
Bridle joints
A bridle joint is a versatile tool for creating joinery. It can be used in many woodworking projects. The advantages of a bridle joint include strength, ease of machining, and a finished look. It is seldom used in furniture. Another example is the mortise/tenon joint. First, make a mortise with one piece and a Tenon with the other. This will create a joint called a "bridle". You can now glue the two pieces together once you have made the tenoning joints.
Outfeed jig
Whether you're starting out on a DIY project or modifying your current table saw, outfeed jig tables can be a great way to increase the flexibility of your workspace. A miter slot can be made into the table stand's outfeed to make an outfeed jig table. Then, you can install an outfeed jig on it to help you adjust the height of your table saw.
Blade guard
Here are a few Blade Guard table saw tricks to keep your fingers safe while cutting wood. First, think about the trajectory of the cut. To avoid kickback, do not place your hands in awkward positions. This can cause the blade's to grab the workpiece before you complete cutting it. Another technique is to use crosscutting, which allows you to prevent the workpiece from getting stuck and bind against the blade. Practice this technique regularly to make sure you're always one step ahead.

Dust collection
There are many options for dust collection when you use a table saw. Dust collection is critical, no matter if you are building or renovating a house, or just cutting wood. The dust collection system you choose should fit the dust port on your tablesaw. These systems collect the majority of sawdust that is produced during work and keep your workspace clean and safe. The table saw dust collection devices are made of heavy-duty fabric. They also have a sturdy zipper. The best tablesaw dust collector bags can collect up to 70% of dust produced by the machine.
FAQ
How do I know what tools are best suited for me?
It's important to consider your preferences and needs when buying tools. Do you prefer metal or plastic handles? What size of nails and screws do your hands use most? Are you comfortable with power tools, or would you rather use hand tools?
Where can I get free woodworking plans?
Woodworking plans can be found online without the need to purchase books or magazines. Just search Google. Just enter "free woodworking" into the search bar, and you'll see hundreds of websites where you can download free plans.
How can a woodworker start making money?
Many people are starting to learn how to build furniture because they want to start an online business. If you are just starting to build furniture, there are many other ways to make money than selling on Etsy. You could sell at craft fairs or local events. For those who want to build their own furniture, you might offer workshops. If you have experience as a carpenter or builder, you might consider offering services such as remodeling homes or creating custom pieces for clients.
Statistics
- The best-paid 10 percent make $76,000, while the lowest-paid 10 percent make $34,000. (zippia.com)
- Average lumber prices rose about 600 percent between April 2020 and May 2021. (familyhandyman.com)
- Most woodworkers agree that lumber moisture needs to be under 10% for building furniture. (woodandshop.com)
- The U.S. Bureau of Labor Statistics (BLS) estimates that the number of jobs for woodworkers will decline by 4% between 2019 and 2029. (indeed.com)
External Links
How To
How to stain wood
Staining wood is the process of applying chemicals to the wood's exterior, which alters its color. This chemical reaction causes the wood to change from white to brownish red. While oak is the most widely used type of wood for staining purposes, other types of wood are also available.
There are many ways to stain wood surfaces. One method involves mixing the stain and a solvent and then spraying it on the wood. Some methods involve a mixture of water and dye that is applied directly to the wood. You can also mix stains with varnishes or paints so that they become part the finish coating.
The first step in staining wood is preparing the surface. You must clean the wood well to remove any grease or dirt that might interfere with the application of the stain. Sanding the wood removes scratches and imperfections. The next step is to determine the type of stain you would like to use. Penetrating stains are different from non-penetrating. Penetrating stains penetrate deeper than non-penetrating stains, which makes them great for dark colors like mahogany. Penetrating stains are best paired with lighter colors, such as maple.
You will need to decide on the type of stain you want to use, and then prepare your tools. A paintbrush works well for applying stains because it allows you to spread the liquid evenly across the surface. To remove any stains left behind after painting, you will need some rags. If you intend to mix the stain yourself you will need enough containers to hold all the components.
After you have prepared your materials, clean the area you intend to stain. To remove dirt and dust, use warm water and soap. Use a dampened sponge and warm water to clean the entire piece. Take care to remove all debris and dirt, especially if you are planning on staining darker wood.
Apply the stain. Start at one end of the piece of furniture and brush or spray the stain onto the wood. Slowly and carefully move along the grain of wood, slowly but steadily, until you reach the other end. Keep the stain from dripping off the wood's surface. Before moving on to the next steps, allow the stain drying completely.
Apply a clear polyurethane sealant to protect the painted surface. Apply three coats of polyurethane sealer. Let the third coat dry overnight before you sand the final coat.