A bowl gouge can be used to carve or smoothen the bowl's surface. Its size and shape determine the type of work you can perform with it. An instruction leaflet is included with the gouge. It has a forged tip for rough cuts on the interior or exterior of a bowl. It also features a balance edge and edge to aid in fine projects. It is made from high-quality steel.
Shape
A bowl gouge can be a sharp tool to shape bowls. It is usually made of wood, and can be quite costly. For a few bucks, you can buy a gouge at your local home center. This wood is very forgiving. It requires several exterior cuts as well as a hollowing cut. For those who are just beginning to make bowls, a 2x6 piece might be the best size to use. It's affordable and simple to work with, making it a good choice for beginners.
There are many different bowl gouge shapes available on the market. A basic bowl gouge has a diameter of 5/8", while a 3/4" gouge can be slightly larger. However, larger tools can often be more efficient but do not always mean that they are more effective. You can experiment with different sizes and gouges until the one that best suits your needs is found. Remember that each turner has a preferred grind and should experiment with different tools until you find one that suits them best.
Size
There are two systems that size bowl gouges. The English and North American systems measure gouges by rod diameter and flute width. The same gouge in one system is labeled as 1/2'' while the other uses 5/8" or 1" diameter. This allows you to choose the right size gouge for your lathe. You must first measure the bowl you are using to find the best bowl gouge. Then, choose the appropriate size based on the size of the bowl or the gouge's flute.
Although larger bowl gouges have many benefits, they are bulkier and heavier than smaller ones. Therefore, beginners should purchase a smaller bowl tool and increase it gradually. However, for more experienced woodworkers, you should never limit yourself to a single size. Once you master your woodworking skills, you can invest in larger bowl gouges if you wish. They are also more difficult than their stainless counterparts but require less maintenance.
Function

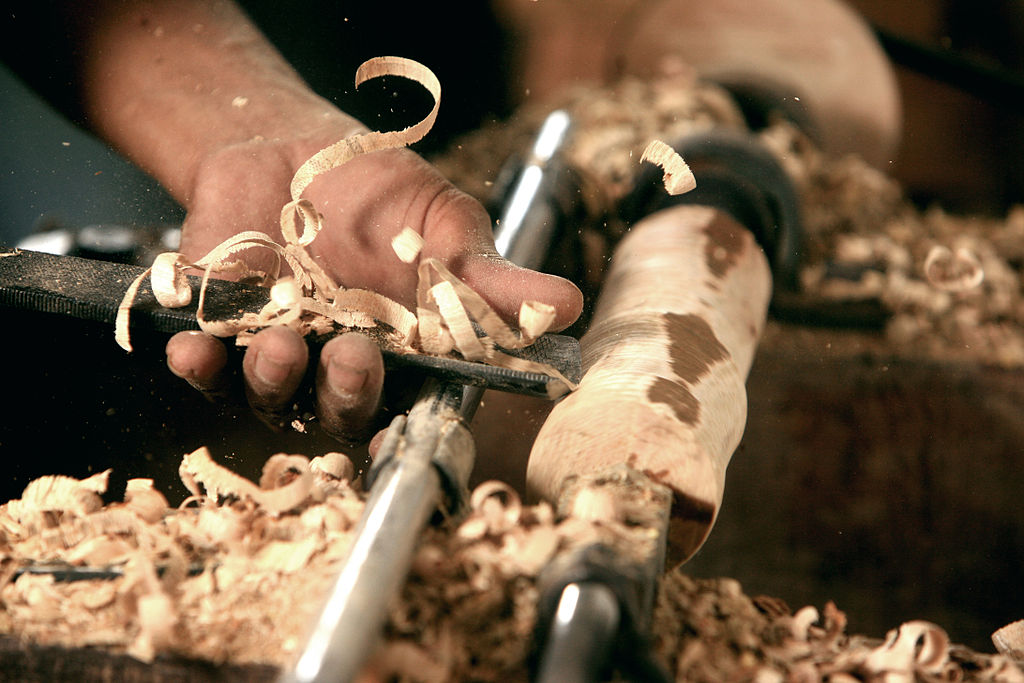
A bowl gouge serves two main purposes. First, it prepares the outside surface of the bowl for sanding. The tool rest pivots the left wing of this gouge. The cutting edge touches the wood when the handle is raised. The cut moves away from wood, creating a smooth, ready for sanding surface. Secondly, a bowl gouge has a single cutting edge: the bevel.
The bevel angle of a bowl gouge can vary between 40 and 45 degrees. This will vary depending on the circumstance. For example, large angles with bevels are ideal for turning deep bowls. For cutting beads or spindles, you can use smaller angles. Choosing the right angle depends on what you are going to use the tool for, as a large bevel angle can be difficult to achieve without damaging the wood.
Handle
Keep the bowl gouge handles against your body when you cut bowls. This will help to maintain the bowl's curve. While sweeping the handle to make a convex bend in the bowl's surface, hold the tool rest securely with the left. You can adjust the height of the tool-rest to achieve the desired depth or width. You should be able, depending on how large the bowl is, to use a sharp gouge to cut into it.
A bowl gouge looks like a bowl. It is made from a steel rod, which is then ground into a suitable shape. It has a concave, or flute, which is hollowed when it's milled. Handles made of hardwood are common for bowl gouges, but there are many other materials. Some bowl gouges have a massive handle to make cutting a large area easier.
FAQ
What kind wood should I use for my project?
The most commonly used woods for woodworking are oak, maple, cherry. Each wood type has its own characteristics which affect the final product's appearance and feel. Oak tends to be harder and darker than other woods. Birch, which is lighter and soft, is more heavy than mahogany. You can also choose from solid wood or veneers. Veneers are thin wood sheets that are glued together to form one layer.
How can I organize my shop?
To keep your workshop tidy and organized, you should first create a place for tools storage. Your tools will stay sharp and ready to go when they are free from dust and debris. To hang accessories and tools, use pegboard hooks.
Is it easy to start a woodworking business?
It is not easy to start a woodworking business. There are many requirements and regulations that must be followed. However, it doesn't necessarily mean you must go through all the hassle of setting up a business. Many people opt to join existing businesses instead. This will allow you to avoid paying membership fees and taxes.
What amount of money do I need to get started with my business?
Since every project differs, it is impossible to give exact numbers. Here are some factors to help you estimate how much money you will need.
-
Cost of materials
-
Tools and equipment
-
Time spent on the Project
-
Your hourly rate
-
How much profit can you anticipate to make
-
You can hire help, regardless of whether you have a plan.
It's a good idea for beginners to start with small projects like frames and boxes. You will gain more experience and be able to tackle larger projects.
How much should a woodworker charge per hour?
The hourly rate of a professional woodworker depends on many factors including experience, skill level, availability, location, etc.
The average hourly rate for a skilled woodworker ranges from $20-$50 an hour.
A less experienced woodworker may charge as little as $10 an hour.
Statistics
- Woodworkers on the lower end of that spectrum, the bottom 10% to be exact, make roughly $24,000 a year, while the top 10% makes $108,000. (zippia.com)
- Overall employment of woodworkers is projected to grow 8 percent from 2020 to 2030, about as fast as the average for all occupations. (bls.gov)
- In 2014, there were just over 237,000 jobs for all woodworkers, with other wood product manufacturing employing 23 percent; wood kitchen cabinets and countertop manufacturing employing 21 percent. (theartcareerproject.com)
- Average lumber prices rose about 600 percent between April 2020 and May 2021. (familyhandyman.com)
External Links
How To
How to join two pieces of wood together without nails
Woodworking is a popular hobby. Woodworking is a relaxing hobby that allows you to use your hands to create useful things from wood. However, there are times when you want to join two pieces of wood together without having to use nails. This article will demonstrate how to do so to preserve the beauty of your woodwork.
Before joining the pieces of wood together, you will need to first trim any edges. Sharp corners can cause problems down the line. Now you can start gluing the boards together.
If you are working on hardwood, you should only use glue on one side. If you are using softwoods such pine or cedar, glue should only be applied to one side. Press the boards down until the glue is fully incorporated. Make sure you let the glue dry before moving on to the next step.
After you glue your boards together, drill holes at the joints where screws will be inserted. Depending on the type of screw that you use, the size of these holes will vary. If you are going to use a half-inch wood screw, you will need to drill at least 3/4 inch deep.
Once you have drilled your holes you will need to drive the screws through each joint and into the backside. Do not hit the boards' front surfaces. It will ruin the finish. Avoid hitting the screws' ends too often when driving screws. This will help prevent splitting of the end grain.
Now that your project is finished, you'll want to protect it from the elements. You can seal the furniture pieces or cover the top. You want it to last years, so you can use any product. You can choose from oil-based varnishes or polyurethane, shellac and lacquer as examples.
These products can generally be found in any home improvement shop. Make sure you get the right product for your job. Also, remember that some finishes are toxic and should never be used indoors. So, always wear protective gear when handling them.